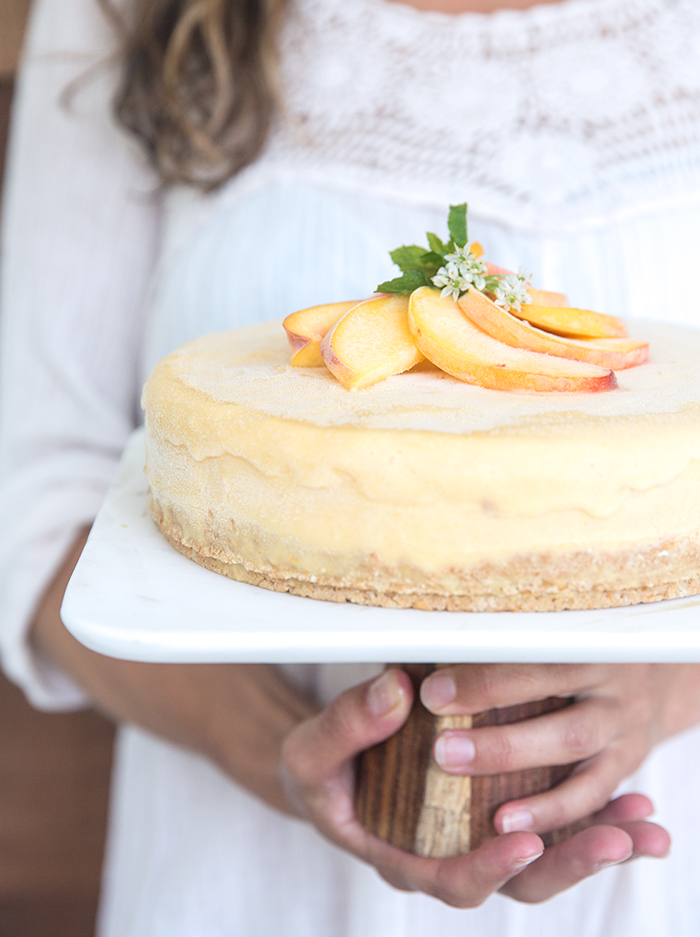
peach + honey ice cream cake | toasted cashew crust (df+gf)
I have a summer birthday, which means I've requested my fair share of ice cream cakes to celebrate. Carvel ice cream cakes, to be exact, with vanilla and chocolate and some chocolatey crunchy bits dividing the two flavors, and then topped with super sweet, fake-tasting (but delicious) frosting. I loved that cake. I would eat the chocolate parts first, and save the vanilla for second to last and the frosting for very last. The best part was that any leftovers from my bday would live in the freezer, and I would retrieve a slice when the mood striked (or when my mom wasn't looking).
There was also the watermelon cake from Friendly's that only was available in the summer. Remember that cake?? SO good. Those chocolate chuncks that were supposed to be the watermelon "pits", made it so much better than REAL watermelon.
It's not a secret that I have a summer love affair with ice cream in any form, but nowadays it's the dairy-free kind. In the grocery store, I can usually find myself a carton of dairy-free ice cream in any flavor I could ever want or dream up, however, I have yet to find a dairy-free ice cream cake. This is probably better for a few reasons. First, I would buy it and eat it ALL THE TIME, and second, homemade is always best.
With a strong craving for ice cream cake coming over me, it was time to experiment with a homemade version. Guess what? Homemade ice cream cake is so much easier and foolproof that you might think. The real effort comes into planning ahead. You need a full 1-2 days of chilling and freezing, but it actually takes very little effort putting it all together. If you know you want the cake for the weekend, you can start on Friday morning, and you'll be eating ice cream cake all into this long weekend we have coming up.
I've made dairy-free ice cream many times, but I usually keep it totally vegan by omitting the egg. This time I decided to try something a little different. Traditional ice cream is made by making a custard with milk, cream, and egg yolks, so I decided to take my dairy-free version one step closer to that by adding in some egg yolks this time, but keeping the coconut milk base. The result was definitely more creamy and more luscious than without the egg yolk, so if you are cool with yolks and luscious dairy-free ice cream, then you MUST try making it this way.
Of course, if you like, you can just make this peach ice cream and not go all the way with the cake ....... but it's nearing the end of summer, the end of peaches, the end of super hot days, so I think we should all have some ice cream in a CAKE form to celebrate these winding down days of summer.


peach + honey ice cream cake | toasted cashew crust
MAKES
a 9" cake
PREP
start at least 1 day before serving / less than 1 hour of actual prep/cook
SPECIAL EQUIPMENT
an ice cream maker (with bowl attachment, pre-frozen)
9" springform pan
INGREDIENTS
for the peach + honey ice cream:
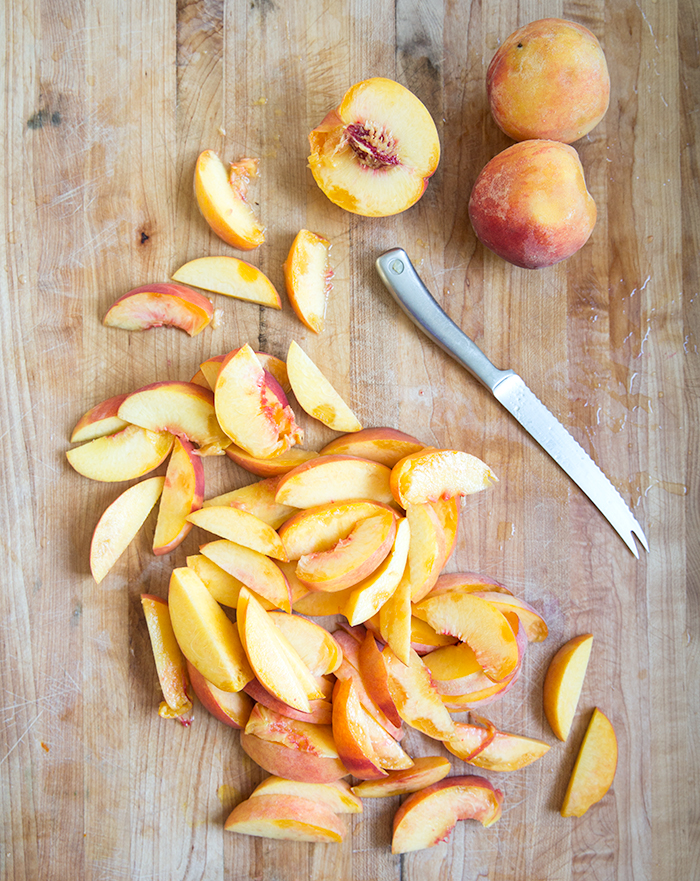
5 ripe yellow peaches, pitted and sliced
1/2 cup of honey (I used raw, but you can use whatever kind you have handy)
1/4 teaspoon of sea salt
the juice of 1/2 a small lemon
1 teaspoon of vanilla
1 can of organic full-fat coconut milk
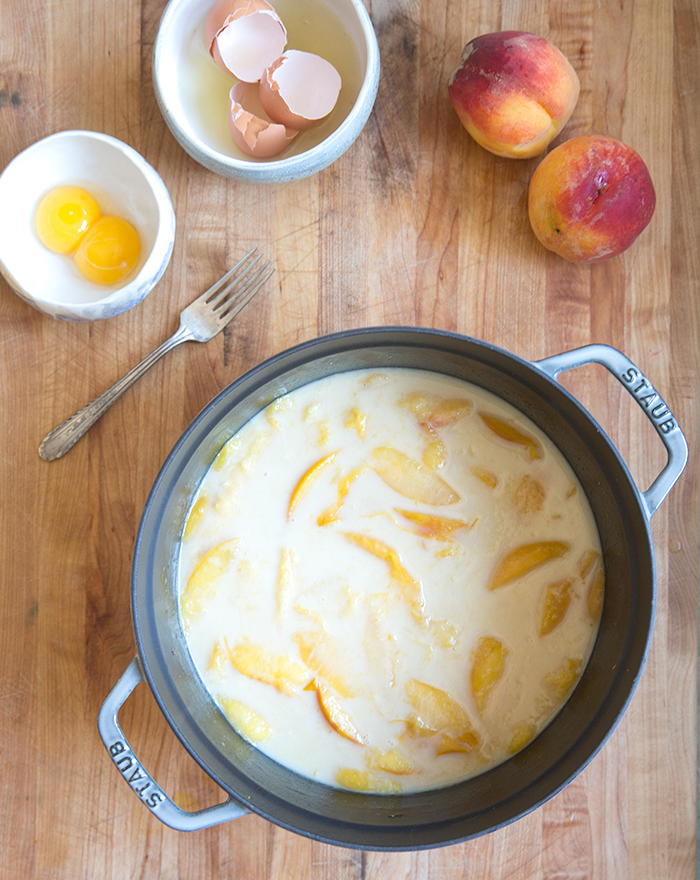
2 egg yolks
for the cashew crush:
1 cup of cashews
1/2 cup of rolled oats
1/4 teaspoon of sea salt
3/4 cup of brown rice flour
3 tablespoons of extra virgin coconut oil (+ extra for greasing)
1/4 cup of maple syrup
1 teaspoon of vanilla
optional topping for the cake: some additional sliced peaches, herbs, or edible flowers
METHOD
At least 1 full day before you wish to have the cake, start making the ice cream:
- In a medium heavy-bottomed pot, cook the peaches over medium-low heat with the salt, honey, vanilla and lemon juice until the peaches are soft. Add in the coconut milk and cook for about 5 more minutes.
- Transfer the mixture to a blender, and blend until the mixture is smooth.
- Transfer the mixture back to the same pot. Add the egg yolks, stir until they are incorporated, and then place the pot over medium-low heat. Cook while stirring often until the mixture has thickened, forming a custard-like consistency.
- Remove from the heat and allow to cool on the stove-top for about 20 minutes (min) before transferring to the fridge. Either place a lid on the pot or transfer to a glass container, cover, and place in the fridge overnight, or for a minimum of 4 hours. (*It's important that this mixture is fully chilled before you churn your ice cream.)
Before you churn the ice cream, make the pie crust:
- Pre-heat the oven to 350º, and grease all side of your 9" springform pan with coconut oil.
- Place the cashews onto a baking sheet, and bake for 4 minutes, until toasted and light brown.
- Transfer them to a food processor and add the oats and salt. Pulse until you have a fine crumbled texture, then transfer than mixture to a mixing bowl. Add the brown rice flour, and stir to combine. Add in the coconut milk, maple syrup, and vanilla, and mix until it's all incorporated.
- Press the mixture into the bottom of the springform pan, and bake for about 15 minutes until golden brown. Remove and allow to cool slightly, and then place the crust in the freezer while you churn the ice cream.
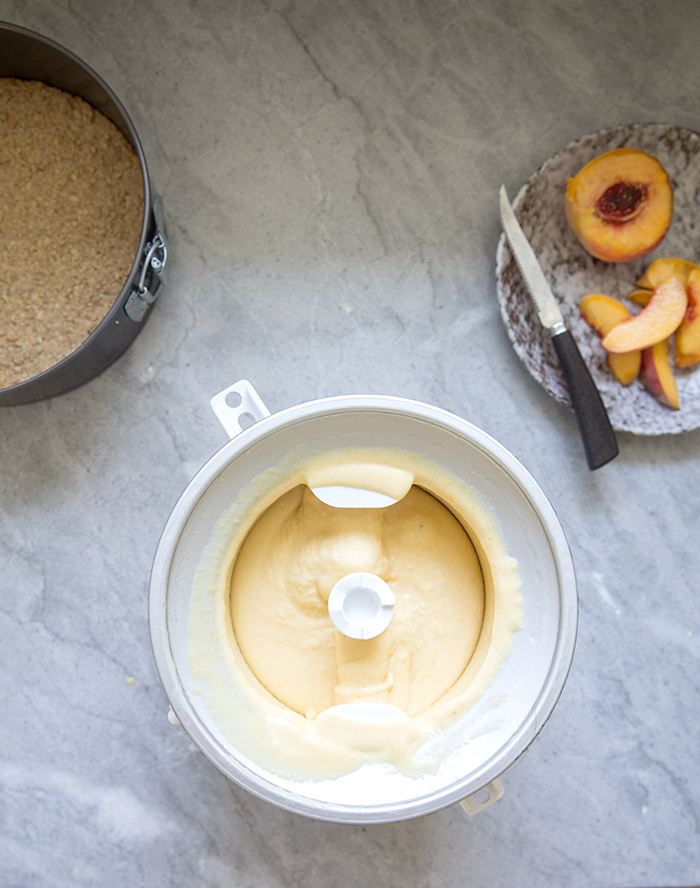
Churn the ice cream, and allow cake to set:
- Pour the ice cream into the pre-frozen ice cream bowl attachment. Check your ice cream maker for specific churning instructions (each vary), but typically you're going to churn on a low speed for about 10-15 minutes.
- When your ice cream is done churning, remove the crust from the freezer and pour it into the pan, over the crust, evenly (by smoothing and shaking while you are your pouring it in).
- Smooth the top off with a butter knife, and place a piece of parchment (that's cut to size) on top of the cake.
- Freeze for a minimum of 5 hours, or overnight.
Serving:
- Feel free to add some sliced peaches, herbs, or edible flowers to the cake before serving.
- Remove the cake from the freezer about 5-10 minutes before you are ready to serve. Run a sharp knife around the outer edge of the pan, before releasing the springform. Remove the outer circular part of the pan, and then very carefully remove the base and place the cake on a cake stand or a flat serving surface. Run a sharp knife under hot water first before cutting into the cake to make it easier to slice.
- You can store this cake in the freezer for a couple of weeks, just make sure you transfer it to an air-tight contain for longer term storage.