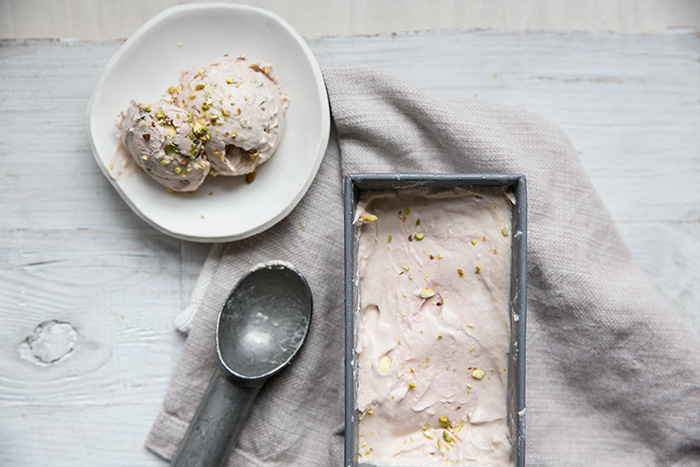
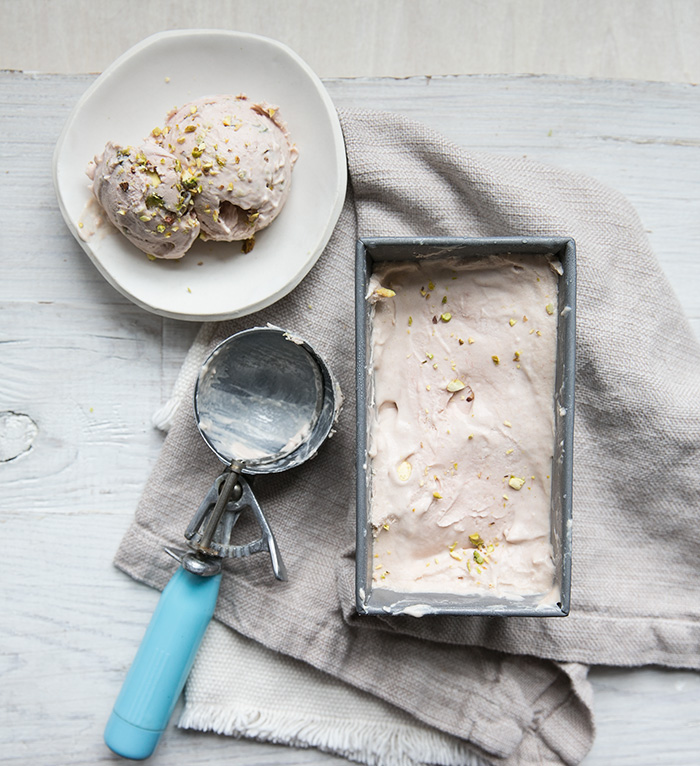
rhubarb ice cream with pistachio chunks | dairy-free
I don't like things that are complicated.
I especially don't like complicated recipes. I like things that are easy, intuitive, and make sense. I'm not lazy, I just like to keep things simple.
Ice cream is simple. I know, it may seem like a daunting task, but trust me, it is not. It's not complicated, it just takes time and patience. Something that I don't always have a lot of, but I am trying to teach myself to.
About two years ago, I bought the ice cream attachment for my Kitchen Aid mixer. When I purchased the ice cream attachments, I had visions of myself pulling out the ice cream maker over and over again to make fresh ice cream for friends and neighbors all summer long. Lovely thought, never happened.
This year will be different. This year I have learned to have a little patience in the kitchen, and a lot about planning ahead. Something I did very little of up until the past few years. Menu planning, soaking beans, cooking grains ahead of time all have given me a whole new respect for patience and planning in the kitchen.
You need to plan ahead to make ice cream, it not something you can decide to make for dessert at 5pm the night of, but it is totally worth the effort. It takes a leisurely two days to make, or one full day (starting in the morning and ending at night) but only about 30-45 minutes of physical work. I like that.
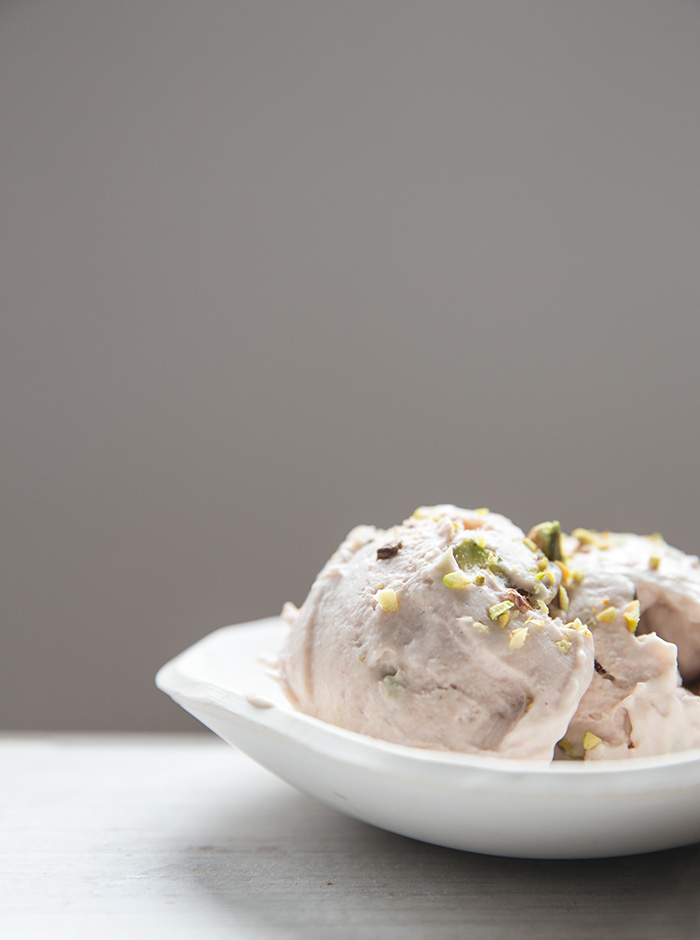
I am not going to plan ahead for just any type of ice cream, if I am going to break out the ice cream maker it is definitely going to be for something special. This ice cream recipe is something special. Rhubarb lends itself so well to ice cream and the pistachios are the perfect crunchy compliment.
When I was making this, I couldn't stop licking the bowl. It was almost impossible for me to not eat it all in one sitting. It's ridiculously good.
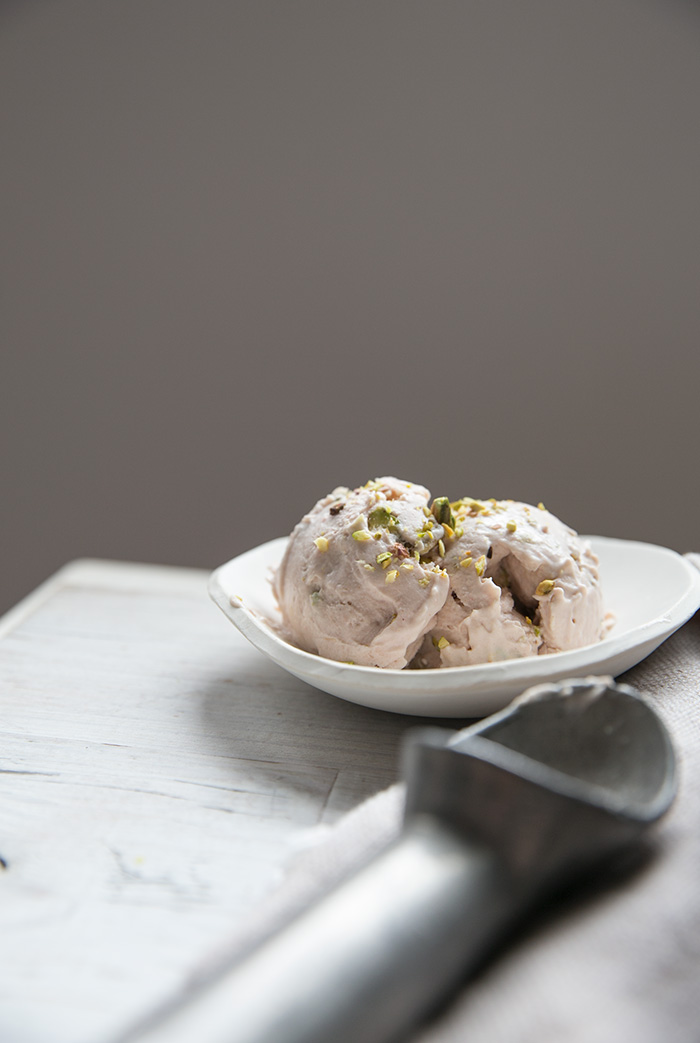
This recipe contains no dairy, no refined sugar, and just a little maple syrup to sweeten it up. I fed this to a few dairy ice cream lovers and they had no idea that it was dairy-free. The coconut milk gives it a creamy consistency that you would get from heavy cream, and it does add a slight coconut flavor which only adds to the overall experience.
When you make ice cream at home, I find that is it best enjoyed right out of the ice cream maker. It's so good you probably won't have any leftovers anyways.
rhubarb ice cream with pistachio chunks | dairy-free
Makes
approximately a quart sized container of ice cream
Ingredients
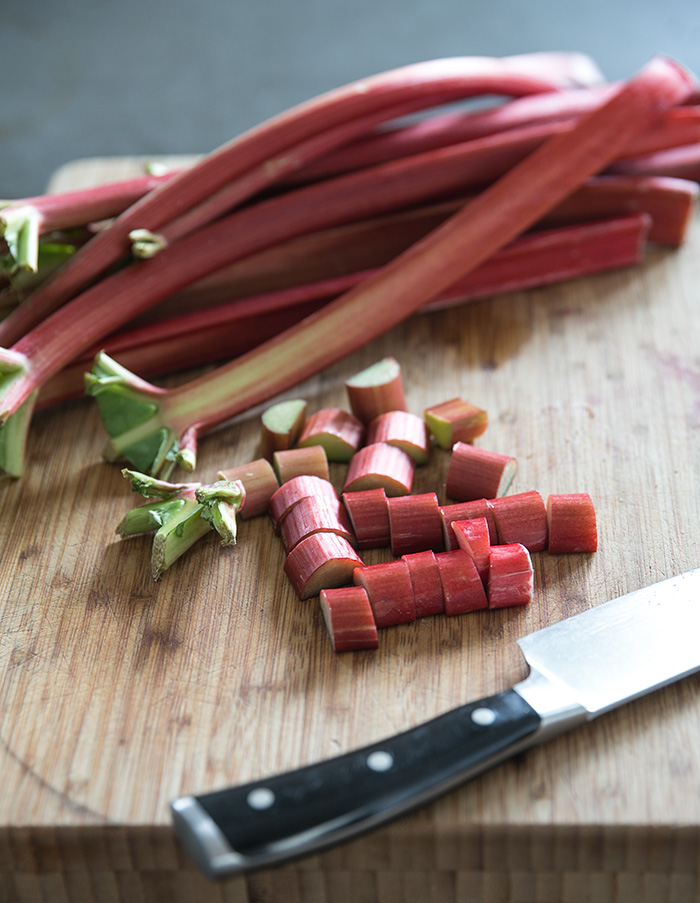
4 cups of rhubarb, chopped (green tops discarded)
2/3 cup of maple syrup (you can use 1/2 cup if you want less sugar)
1/4 teaspoon of cinnamon
2 teaspoons of vanilla extract
1/2 teaspoon of lemon juice
1/4 teaspoon of salt
2 cans of full fat unsweetened coconut milk
2 teaspoons of arrowroot (or cornstarch)
about 1/2 - 1 cup of chopped pistachios (more or less depending on how chunky you'd like it)
**special equipment: an ice cream maker (I love the Kitchen Aid ice cream maker attachment)
If you do not have an ice cream maker, and are not interested in purchasing one, David Lebowitz (the ice cream master) has instructions on how to make ice cream without an ice cream maker (but you need to have some serious arm muscles).
Method
Before you begin, make sure your ice cream maker bowl is in the freezer. You want it to freeze for several hours (or ideally for a day) in the freezer. I usually just keep store in the freezer whenever it's not being used, this way it's always ready to go.
Make the rhubarb mixture + chill it:
- In a large heavy bottomed pot, add the chopped rhubarb, maple syrup, cinnamon, vanilla extract, lemon juice, and salt. Simmer on medium-low heat for about 20 minutes until the rhubarb has broken down completely. Stir and break up and remaining chunks until you have a smooth consistency.
- Then add in the coconut milk and stir to combine. Simmer for 2-3 minutes.
- Then make the slurry. Place the arrowroot in a small bowl and whisk in about a cup of the rubarb coconut mixture. Then add the slurry to the large pot. Stir to combine for about 2 minutes and then remove from the heat.
- Pour the mixture into a separate container (preferably one that had a lid), cover, and place in the fridge for several hours (until the mixture has completely cooled). Overnight is best. You can leave this mixture in an airtight container in the fridge for a day or two, if you prefer to serve your ice cream freshly churned instead of pre-frozen (that's what I would recommend) and churn when you're ready to serve. Any longer than two days, and I would go ahead and churn and store the ice cream frozen.
Churn the ice cream:
- When you're ready to churn, set up your ice cream maker accordingly to it's instructions. You also want to churn according to your ice cream makers instructions, however, it seems like 20-30 minutes of churning is normal for most standard ice cream makers. I churned for 30 minutes and it came out perfect.
- About 5 minutes before you are done churning, add in the pistachios. You will probably have to give it another stir once you are done churning to make sure they are evenly distributed.
Serving and storing suggestions:
- If you like a creamy, soft-serve consistency, serve immediately after churning.
- If you like more of an ice cream consistency, when you're done churning place in the freezer in an air-tight container for a couple of hours. When you take it out of the freezer, let it sit for a few minutes before scooping.
- If you want to make this ahead of time, you can always store the churned ice cream in the freezer for about a week or two, but I have found that it just does not have the same consistency as it does when you make it fresh. Just something to keep in mind.